
The Magic of Whipped Cream
Whipped cream is not just a topping; it's a transformative experience! Imagine that first spoonful of sweetness enveloping your favorite desserts. The cloudy and airy texture—it simply elevates everything it graces. Do you remember the first time you had a dollop? That's what we're diving into today. We're peeling back the layers on whipped cream canisters, which have revolutionized the way we whip up this delightful treat at home.
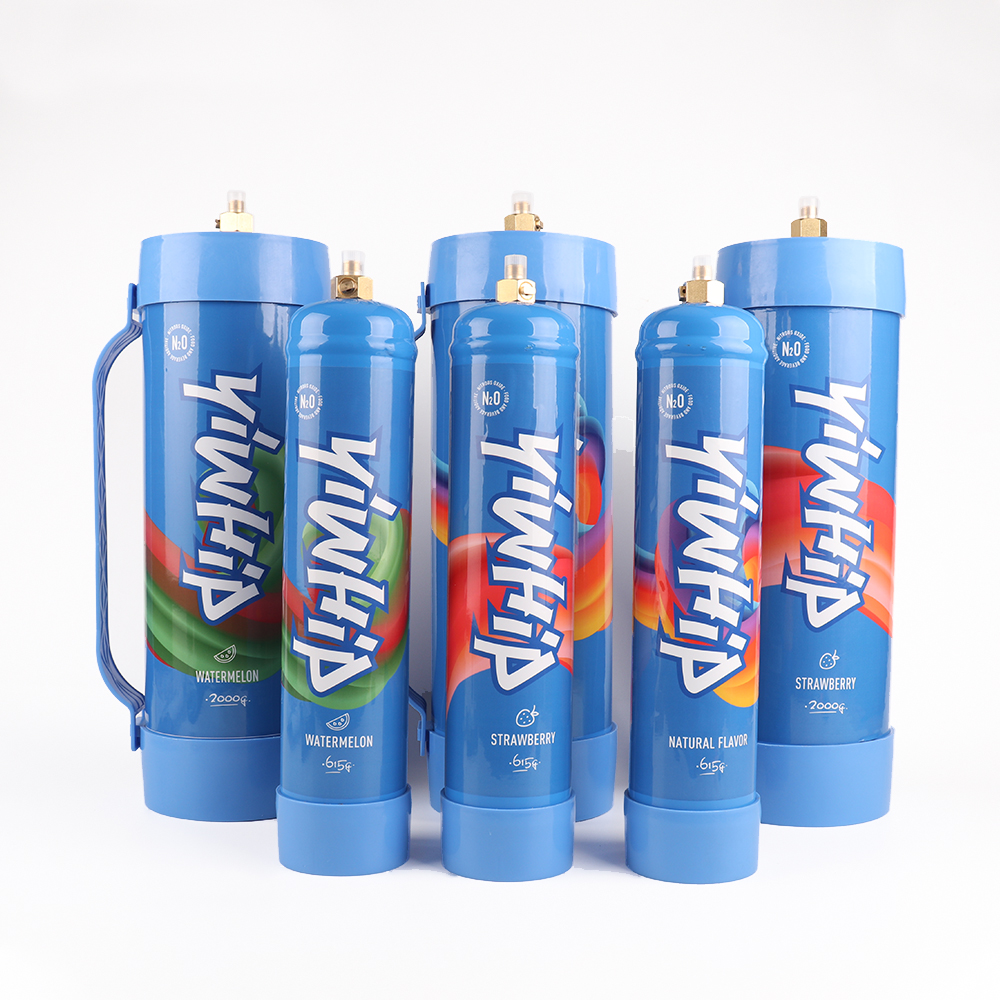
What Are Whipped Cream Canisters?
Whipped cream canisters, often referred to as whipped cream chargers or nitrous oxide canisters, are magic wands for dessert lovers. These small cylinders contain nitrous oxide, which does two essential things: infuses air into cream and creates that iconic fluffy texture. It's chemistry at its finest, yet it feels like a piece of culinary sorcery in your hands!
The Allure of Homemade Whipped Cream
Why make whipped cream at home? Well, store-bought options often come loaded with stabilizers and preservatives. Creating your own allows for pure indulgence without any undesirable additives. You can tailor it to your preference—more vanilla, a sprinkling of cinnamon, or even a hint of chocolate! Isn’t it fabulous that you have complete control over your culinary masterpieces?
Choosing the Right Canister for Your Creations
Now that we’re enchanted by the idea of homemade decadence, let’s talk about choosing the right whipped cream canister. Factors like material and size play a pivotal role in your whipping success. Aluminum, while lightweight, can affect the flavor. Stainless steel, on the other hand, is robust and enhances longevity. What’s your pick, aluminum or stainless steel?
Steps to Mastering Whipped Cream with Canisters
Ready to whip up some magic? Here’s a simple yet effective guide:
- Gather Your Ingredients: Start with heavy cream, a sweetener of your choice, and perhaps a touch of flavoring—vanilla or almond are great options.
- Fill Your Canister: Pour the cream into the canister, filling it only to the recommended line. This ensures optimal mixing!
- Charge It Up: Insert a cream charger and twist it until you hear a hiss. That’s the sound of deliciousness coming to life!
- Shake It! Vigorously shake your canister for about 30 seconds. Feel that anticipation build!
- Dispense Your Whipped Cream: Finally, press the lever to dispense your homemade whipped cream. Look at that fluffiness!
Exploring Unique Variations
So, you're a whipped cream aficionado now! But why stop at basic? Consider these whimsical variations to spice things up:
- Flavored Whipped Cream: Add a tablespoon of your favorite liqueur for an adult twist.
- Chocolate Whipped Cream: Incorporate cocoa powder or melted chocolate for a dessert-worthy addition.
- Fruity Whipped Cream: Blend in some pureed strawberries or raspberries for a natural sweetness.
Common Mistakes to Avoid
Even the best can slip up! Here are some common pitfalls when using whipped cream canisters:
- Overfilling the Canister: Too much cream can lead to messes and ineffective whipping. Stick to the fill line!
- Not Shaking Enough: A quick shake won’t cut it. Embrace the hustle for fluffy perfection!
- Using Old Cream: Always check the expiration date. Freshness makes all the difference!
Serving Suggestions: Elevate Your Desserts
Want to impress at your next gathering? Whipped cream canisters pave the way to spectacular presentations. Top your desserts elegantly and serve alongside:
- Pies: Pumpkin or pecan—both beg for that creamy crown.
- Cakes: Transform a simple chocolate cake into a decadent delight.
- Sundaes: Elevate ice cream sundaes with generous dollops of flavored whipped cream.
Conclusion: The Decadence Awaits
There you go, the enchanting world of whipped cream canisters awaits your exploration! Whether you’re a culinary novice or a seasoned home chef, these tools are a game-changer in the kitchen. Rediscover the pure joy of homemade whipped cream and let your imagination run wild. So, what are you waiting for? Whip it good!